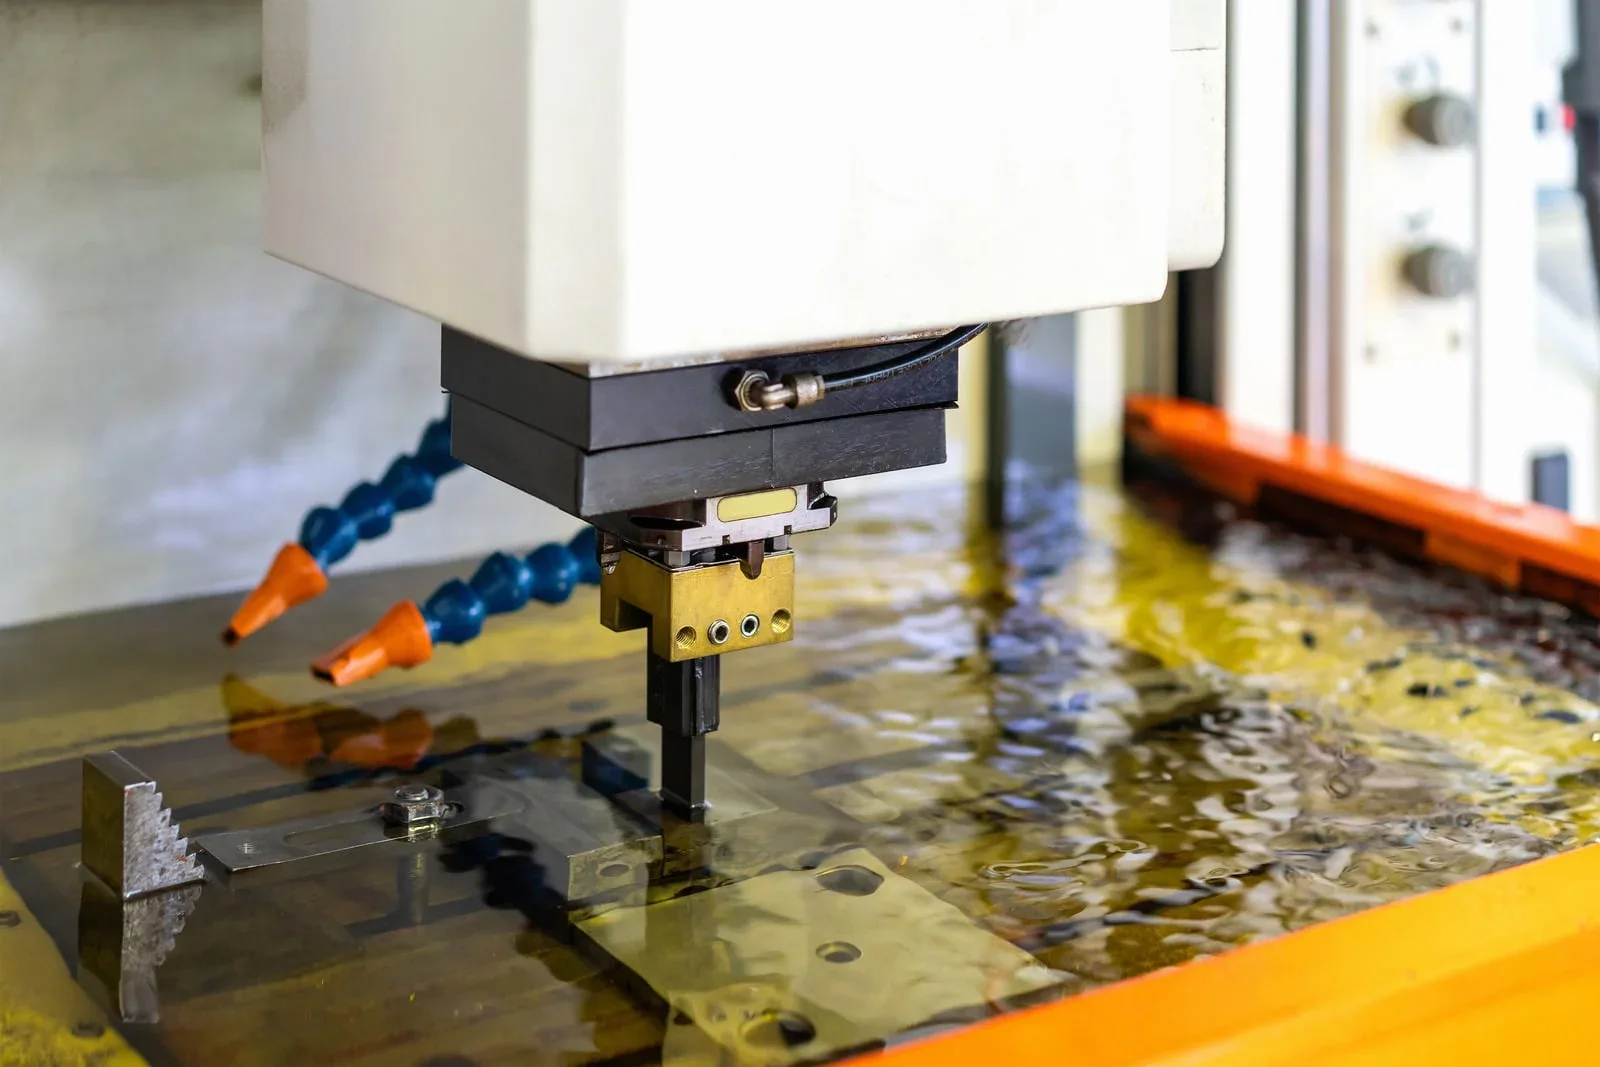
A row of micro ribs in a mold cavity starts life on an electrode. The electrode carries the matching shape, and EDM copies it into the steel spark by spark. The difficulty is that the electrode wears while it works. The machine keeps feeding to depth, but the edges that form the ribs are slowly rounding off.
That is why fine mold details are often lost in a way that is easy to miss. The cavity reaches its depth, the insert looks finished, and the ribs, grids or textures are still not what the drawing asked for. This guide explains where that happens and how the work is planned so the detail survives from electrode to molded part.
The electrode carries the detail
On an ordinary pocket, small shape changes can often be cleaned up afterwards. On micro ribs, grids or fine lines there is very little left to clean up. Every detail in the cavity comes from a detail on the electrode, so making the electrode and controlling its wear is a large part of the job.
Typical fine mold features include line widths below 50 µm and structure depths below 1 mm. Neither number looks large, but small does not mean easy. As features shrink, small errors on the electrode, wear at its edges and the spark gap all show up directly in the final shape.
The spark gap is usually a few micrometers to a few tens of micrometers, and it sets part of the cavity size. An electrode made to the nominal drawing size and sunk to the target depth does not give a cavity of the same size. The electrode is made undersize to allow for the gap.
That allowance is not a single number taken off before the job starts. It sets the starting size, but wear builds up over time, and flushing conditions change as the electrode goes deeper. On fine features, size control has to follow the process, not just the first setting.
Electrode material and electrode count
Graphite, copper tungsten and chromium copper are all used for fine cavity work. The material name alone does not tell you whether a given electrode will hold its shape. Forming a complex surface, keeping a sharp small edge and making the electrode in the first place all place demands on the material. An electrode is a tool, but it is also a precision part in its own right.
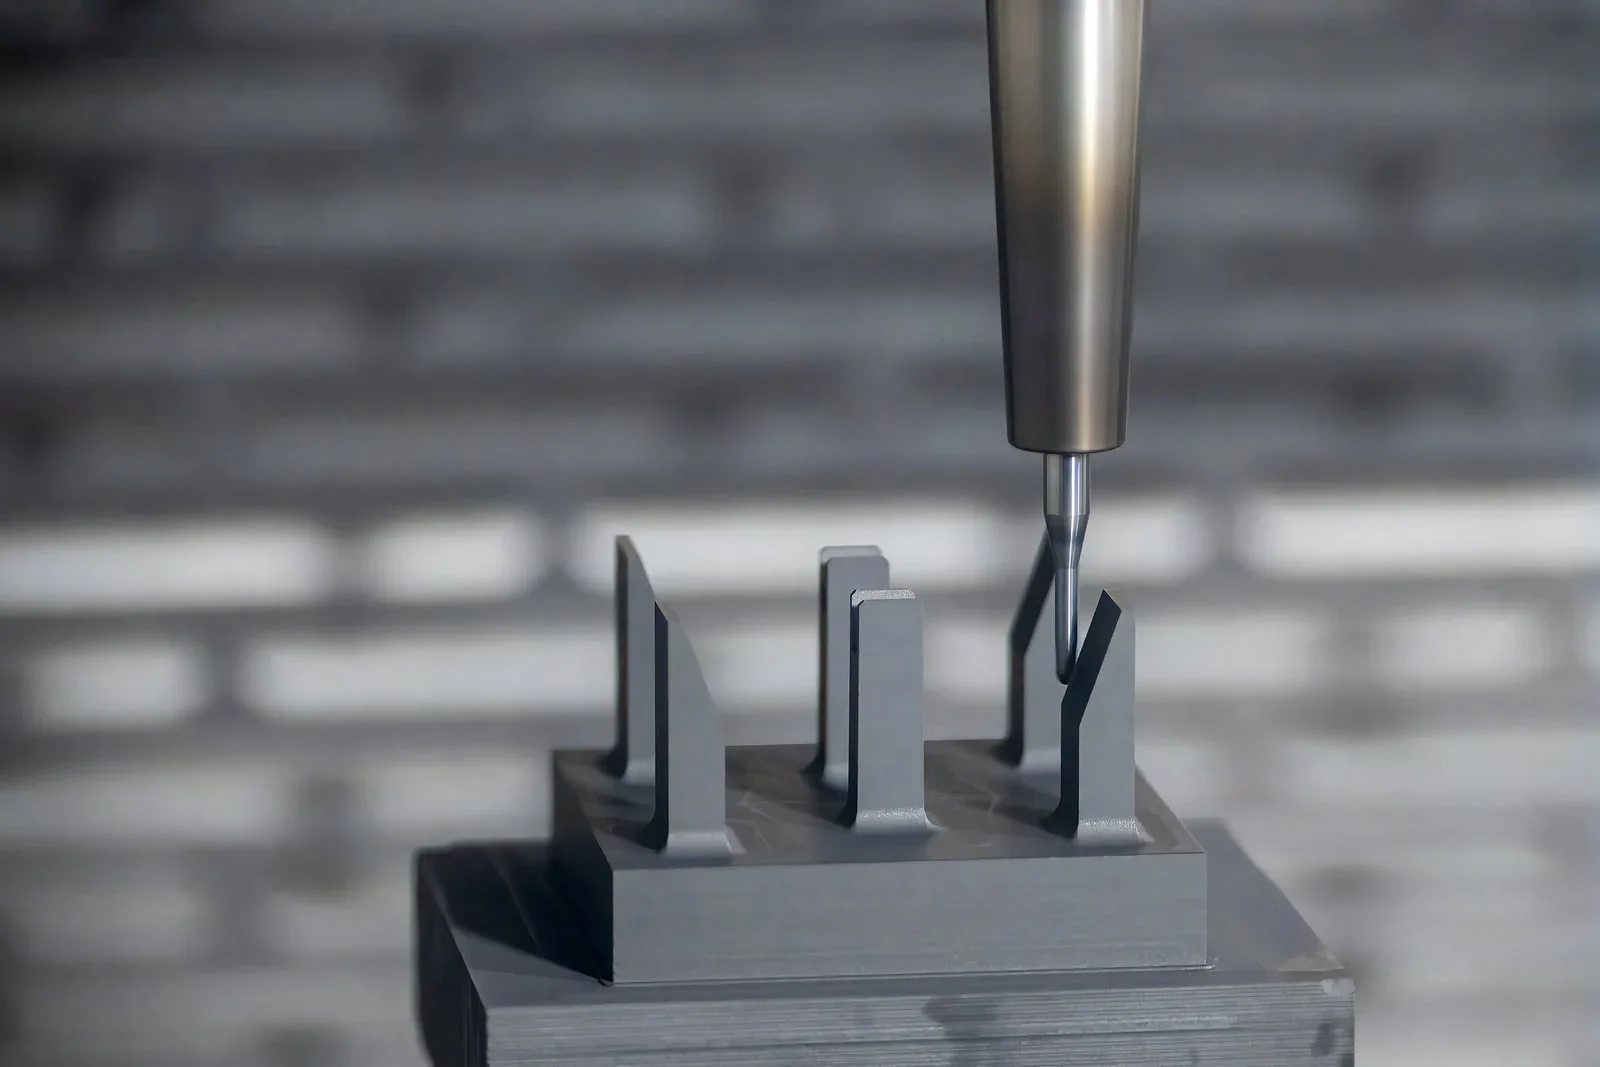
Roughing and finishing ask different things of the process. Longer pulses remove material faster during roughing. Shorter pulses are used for the final detail, giving sharper edges and a smaller heat affected zone. Changing the settings does not undo the wear the roughing pass already caused, though.
That is where several electrodes earn their place. One electrode takes most of the stock, and a fresh one with a complete profile finishes the detail. The number of electrodes depends on the features and the work each one has to do; it cannot be worked out from the insert size or the cavity area.
A cavity with grids, micro ribs and pockets of different depths can also be split into zones and layers. Each zone has its own opening and depth, so the sparking conditions differ. Splitting the work lets the path and the electrode suit each area, instead of one electrode wearing its way through everything.
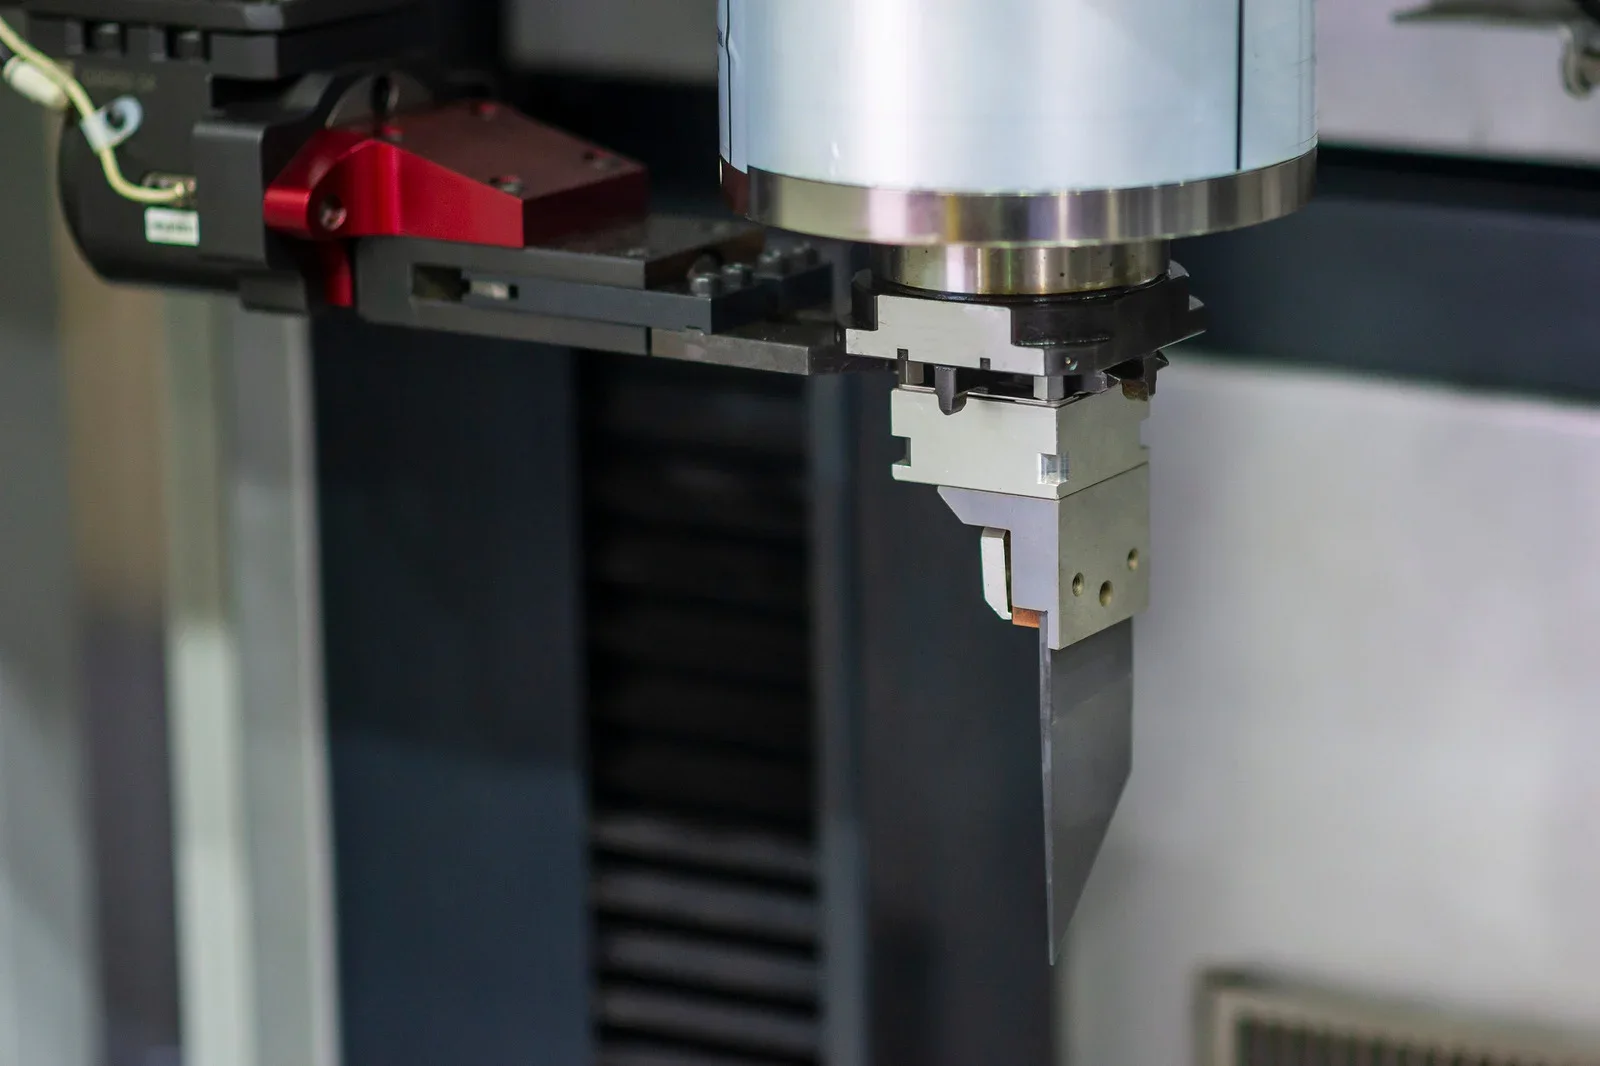
Why two inserts of the same size can quote very differently
All of this reaches the quotation. A plain cavity and an insert of the same outside size with micro ribs inside may remove a similar volume of steel. The electrode making and finishing work can still be several times higher for the second one. On a detailed insert, the electrode cost is not an extra line; it is what produces the final cavity shape.
When you compare mold quotes, ask how many electrodes each supplier has planned for the detailed areas and how they will check them. Two prices for the same drawing often reflect two different plans for the fine features.
Deep, narrow features: getting the debris out
As the electrode goes deeper, flushing becomes the next limit. The particles that EDM removes have to be carried away by the dielectric fluid. In a deep, narrow feature there is little room for them to escape, and the debris starts to interfere with the next sparks. If the gap is too small, the process shorts or sticks; if it is too large, sparking stops. Turning up the power does not replace flushing. It changes the surface and the local heat as well.
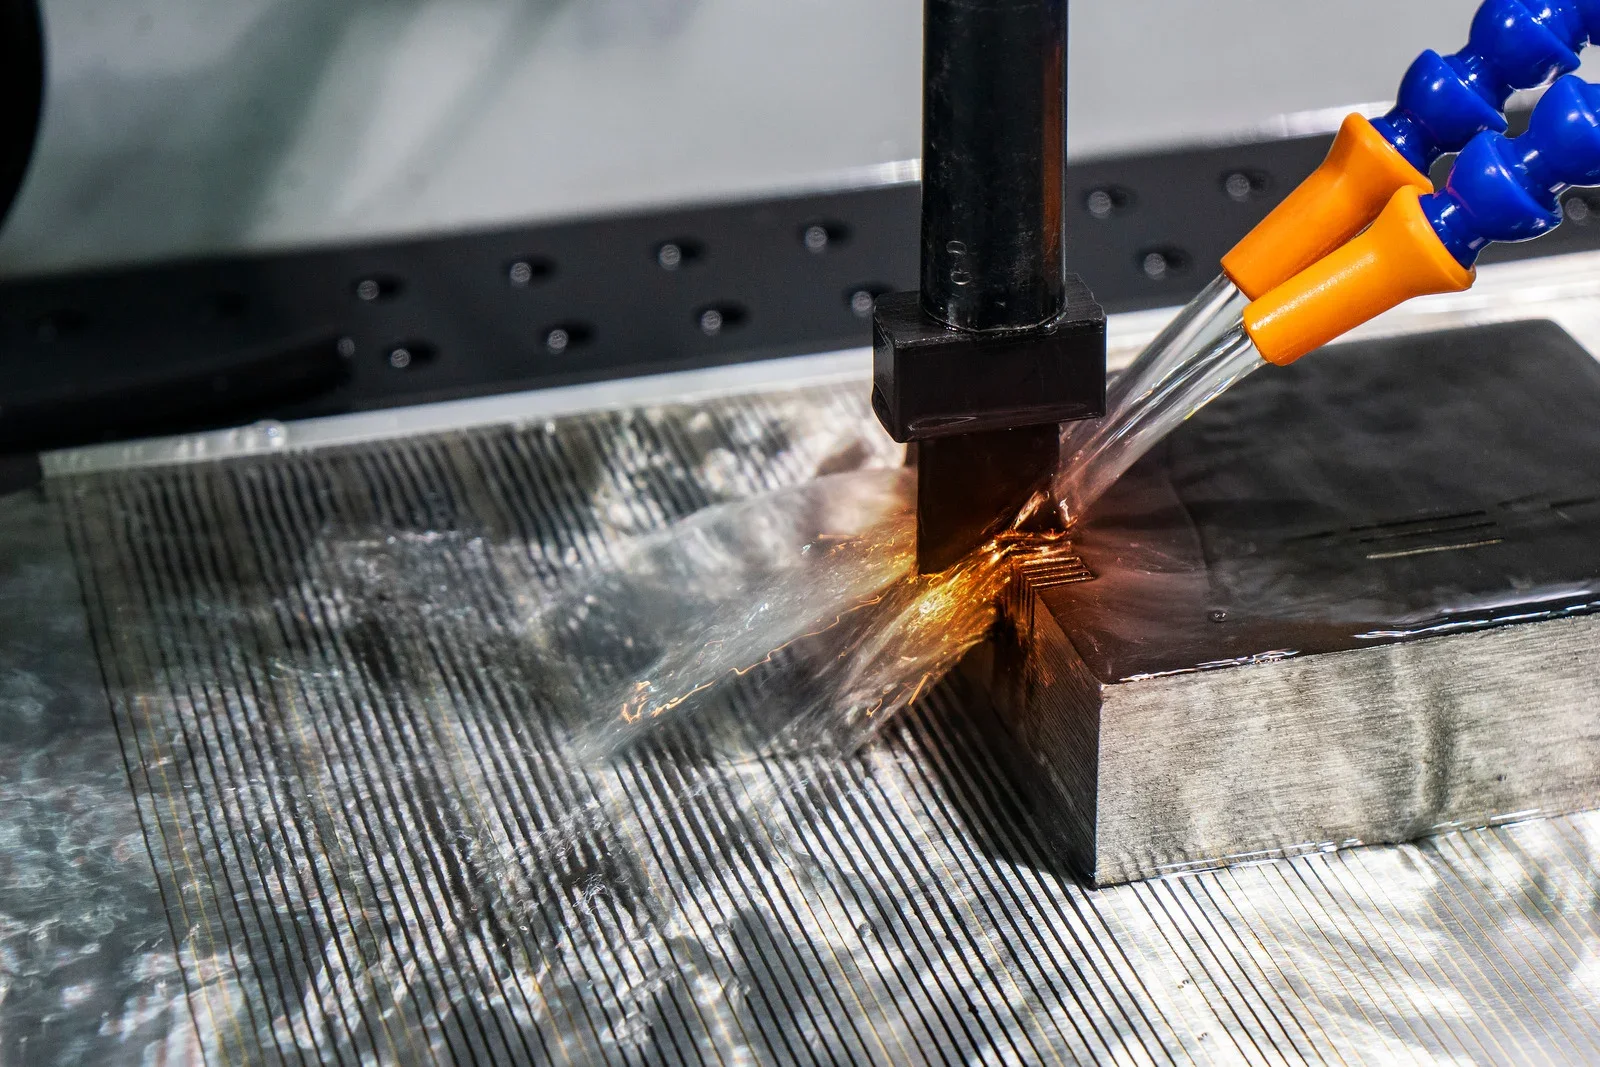
Small holes show the problem most clearly. Typical micro through holes are 20 to 200 µm in diameter, with a depth of 10 to 30 times the diameter. The opening is tiny, the cutting point keeps moving inward, and the space around the electrode is all there is for the debris to leave.
Thin, stiff electrodes, fine servo control and short, high frequency pulses work together here, while rotating the electrode and controlling the pulse off time help clear the debris. The choice of dielectric matters too: deionized water or a low viscosity oil helps cooling, flushing and stable cutting.
A small hole and a cavity both use spark erosion, but the electrode and the conditions are different. Cavity work is about copying a 3D shape. A long, small hole ties diameter, depth and wall quality together. Being able to make a given diameter does not mean roundness and straightness will hold when the hole gets deeper.
Surface textures: a pattern is not enough
EDM is also used for functional surface textures. The dots, lines and dimples in a texture have a set width, depth and spacing. Repeating dots, squares or hexagons may have a side or diameter of 10 to 100 µm. Parallel or crossed lines may be 5 to 50 µm wide. Dimple arrays with graded depth may vary by 5 to 30 µm. A texture like this cannot be accepted just because it looks textured.
The spacing of a dot pattern, the direction of the lines and the depth of the dimples each affect how the surface works. A flow texture guides how fluid moves across it. An anti stick texture changes the contact with the molded material. An optical texture changes how light scatters. Change the depth or the layout, and the same pattern does a different job.
It helps to separate two things: the pattern shape that comes from the electrode, and the fine spark surface that comes from the erosion itself. Putting lines on the electrode only gives the shape a source. The final depth, edges and surface of those lines still depend on the settings and the electrode wear.
Graded textures add another task. For an even, repeating texture the job is copying the same shape again and again. For a graded one, the erosion depth has to change across the area as designed. Measuring only the deepest point says little about the whole area. Where the change starts, how deep it goes and how neighbouring zones blend are all part of the shape.
Free form textures such as fish scale, leaf vein or sand dune patterns have no simple spacing. With CNC servo control and multi axis motion, the electrode path itself can vary to form non repeating or multi level textures on a curved surface. Electrode shape, path and depth then work together, and none of them alone describes the job. A library of proven patterns and simulation help at the design stage, but a pattern from a library still has to be proved on the actual mold steel, resin and release conditions.
From the mold to the molded part
On an injection mold, the texture is copied a second time: from the steel into the plastic. A mold with lines at the specified depth does not guarantee a part that copies them fully. Filling, cooling and ejection in the textured area all affect the result. Checking the mold surface and checking the molded part are two different records.
Functional textures need one more step. Once the shape is right, the flow, anti stick, friction or optical effect still has to be confirmed by a suitable test. A texture that measures correctly has not yet proved that it works.
Polishing also sits in this chain. Polishing a fine profile changes its edges and can reduce a shallow texture. The areas that must not be polished have to be clear on the drawing, or detail kept through EDM will be removed at finishing. The final cavity check belongs after all finishing work is complete.
How fine details move through a TOVILON mold project
TOVILON mold projects run through a written DFM review, core and cavity insert manufacturing, EDM, polishing and T1 sampling. Fine features are confirmed along that route:
- DFM review. The feature sizes, texture specification, molding resin and the areas that must not be polished are agreed before steel is cut.
- Electrodes. Electrodes and inserts are cut, and the electrode profile is checked before it is used on the cavity.
- Cavity. The cavity is checked after EDM and again after polishing, on the features the drawing controls.
- T1 samples. Molded parts show how well the detail and texture are copied into the resin.
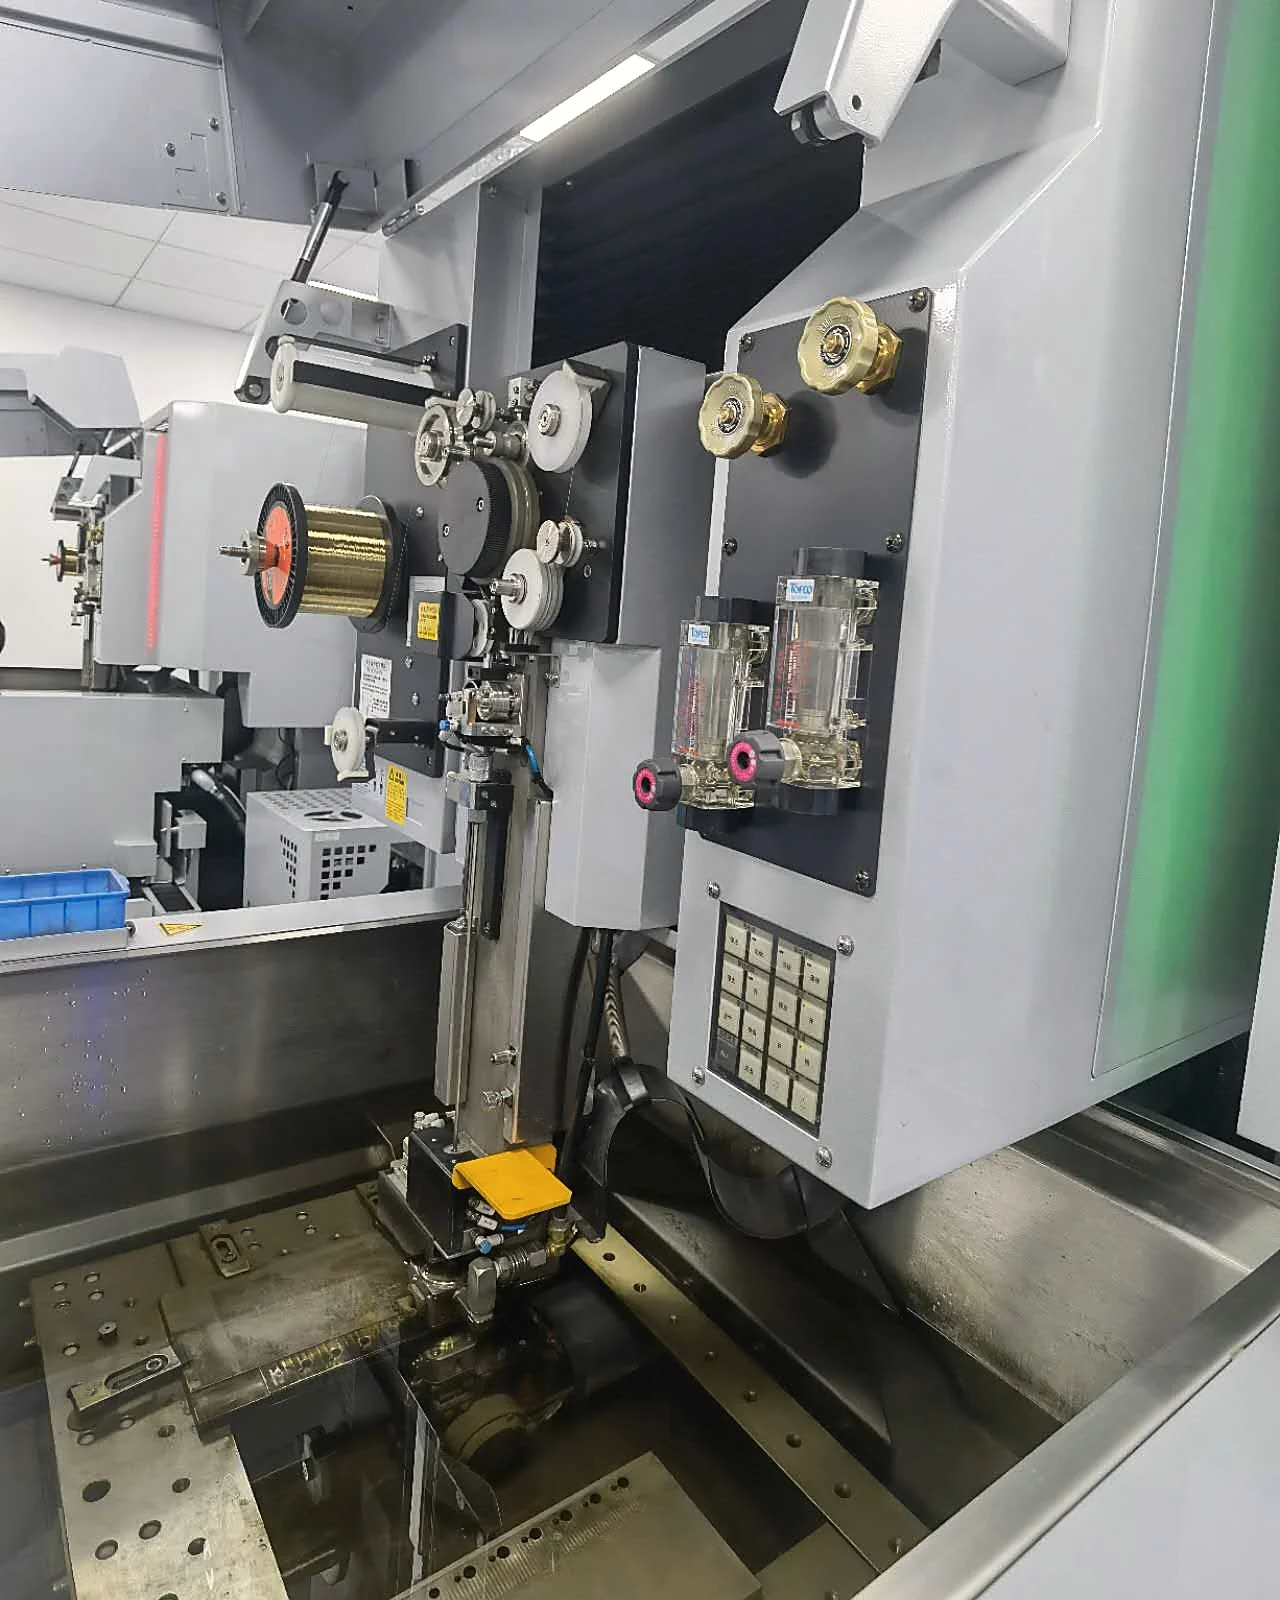
A drawing with micro ribs or a texture should end up with records that line up: what profile the electrode had, what shape the cavity got and what the molded part copied. If something drifts, you can see at which step it changed, and the correction has a clear target.
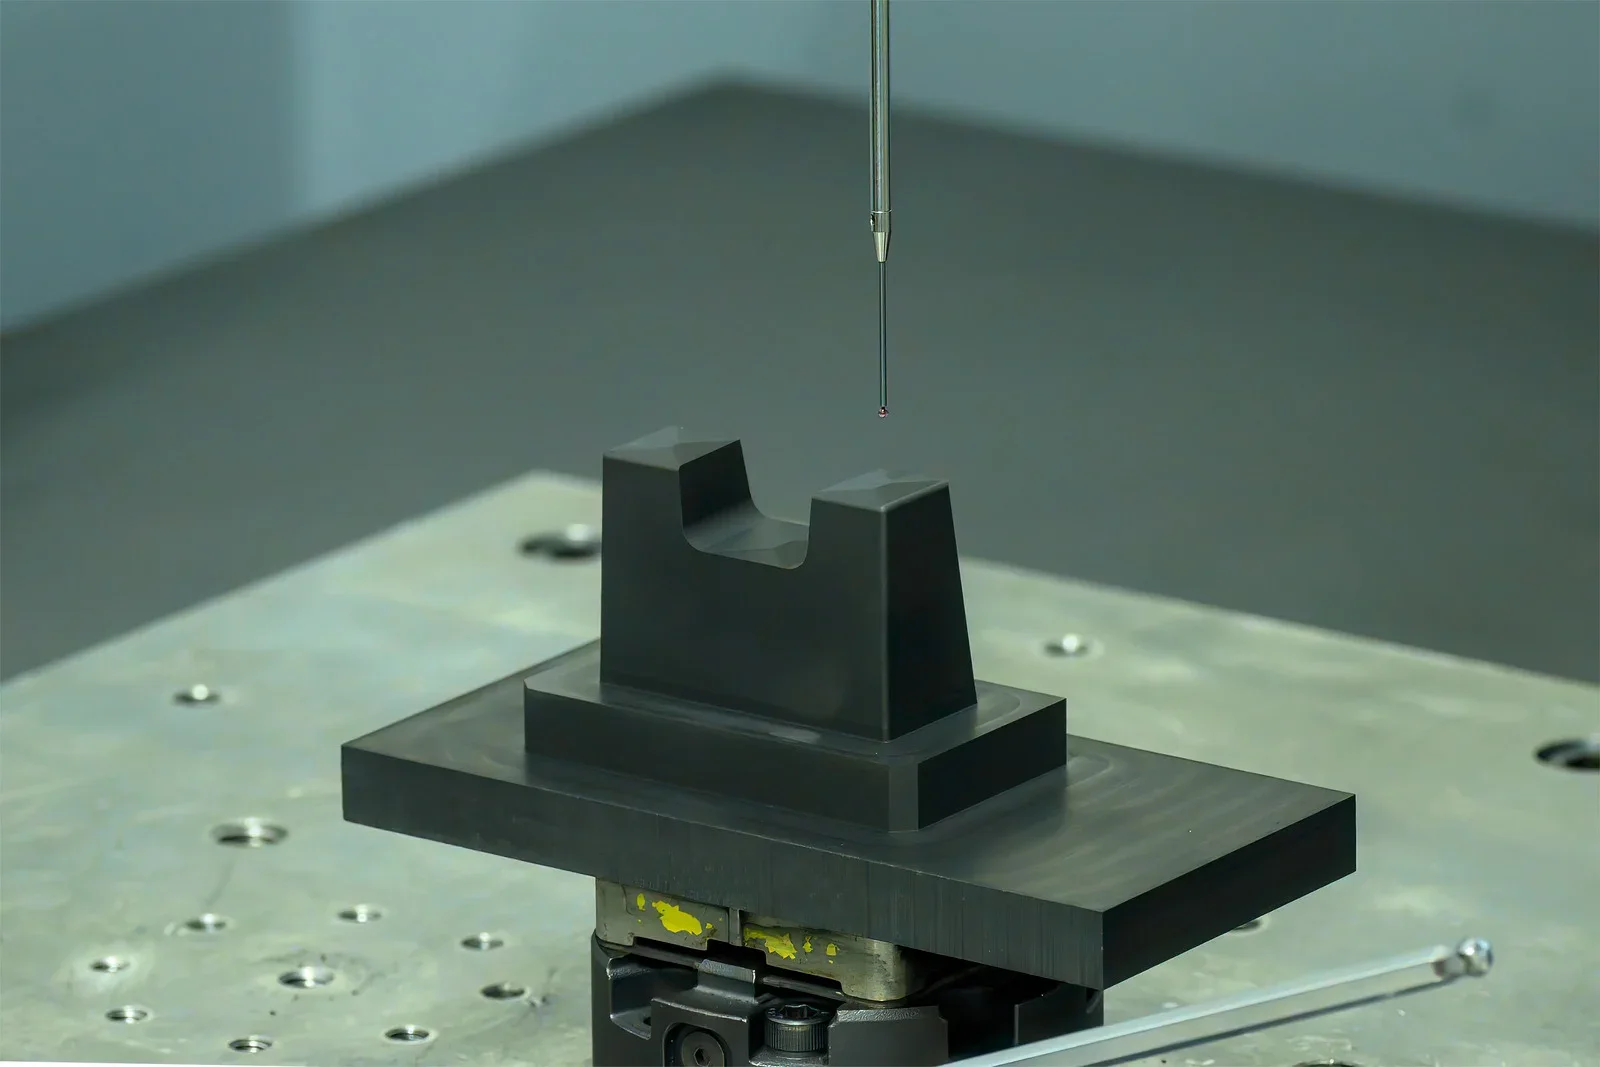
When you send a mold inquiry with fine details, include the minimum feature width and depth, the texture specification or a sample, the resin, any functional test the texture must pass, and which surfaces may not be polished. Read more about our mold making process or see a two cavity unscrewing mold example.
Frequently asked questions
Why does an EDM cavity lose fine detail even when it reaches full depth?
The electrode wears as it cuts, mostly at its edges. The machine still reaches the programmed depth, but the worn electrode no longer has the full profile, so ribs and corners come out rounded. Separate roughing and finishing electrodes keep a complete profile for the final detail.
How many electrodes does a mold insert with micro features need?
It depends on the features, not on the insert size. A detailed area usually needs at least one roughing and one finishing electrode, and complex cavities may be split into zones with their own electrodes. The plan is set during the DFM review and shown in the quotation.
How are EDM surface textures checked?
Against the width, depth and spacing in the texture specification, at several points across the area, and for graded textures across the transition zones. The cavity is checked after polishing, and the T1 samples show how well the texture copies into the molded part.
What should I include in a mold inquiry with fine details or textures?
The 3D model and drawing, the minimum feature width and depth, the texture specification or a reference sample, the resin, the expected volume, any functional test for the texture, and the surfaces that must not be polished.