A prototype and a production part can come from the same drawing and look identical on the bench. The difference is what each one has to prove. A prototype answers a design question. A production part has to be the same as the last one, batch after batch. That shift changes how parts are fixtured, inspected, documented and priced. This guide explains what changes at each stage and how to plan the move from one-off parts to repeat orders without surprises.

Stage 1: prototypes
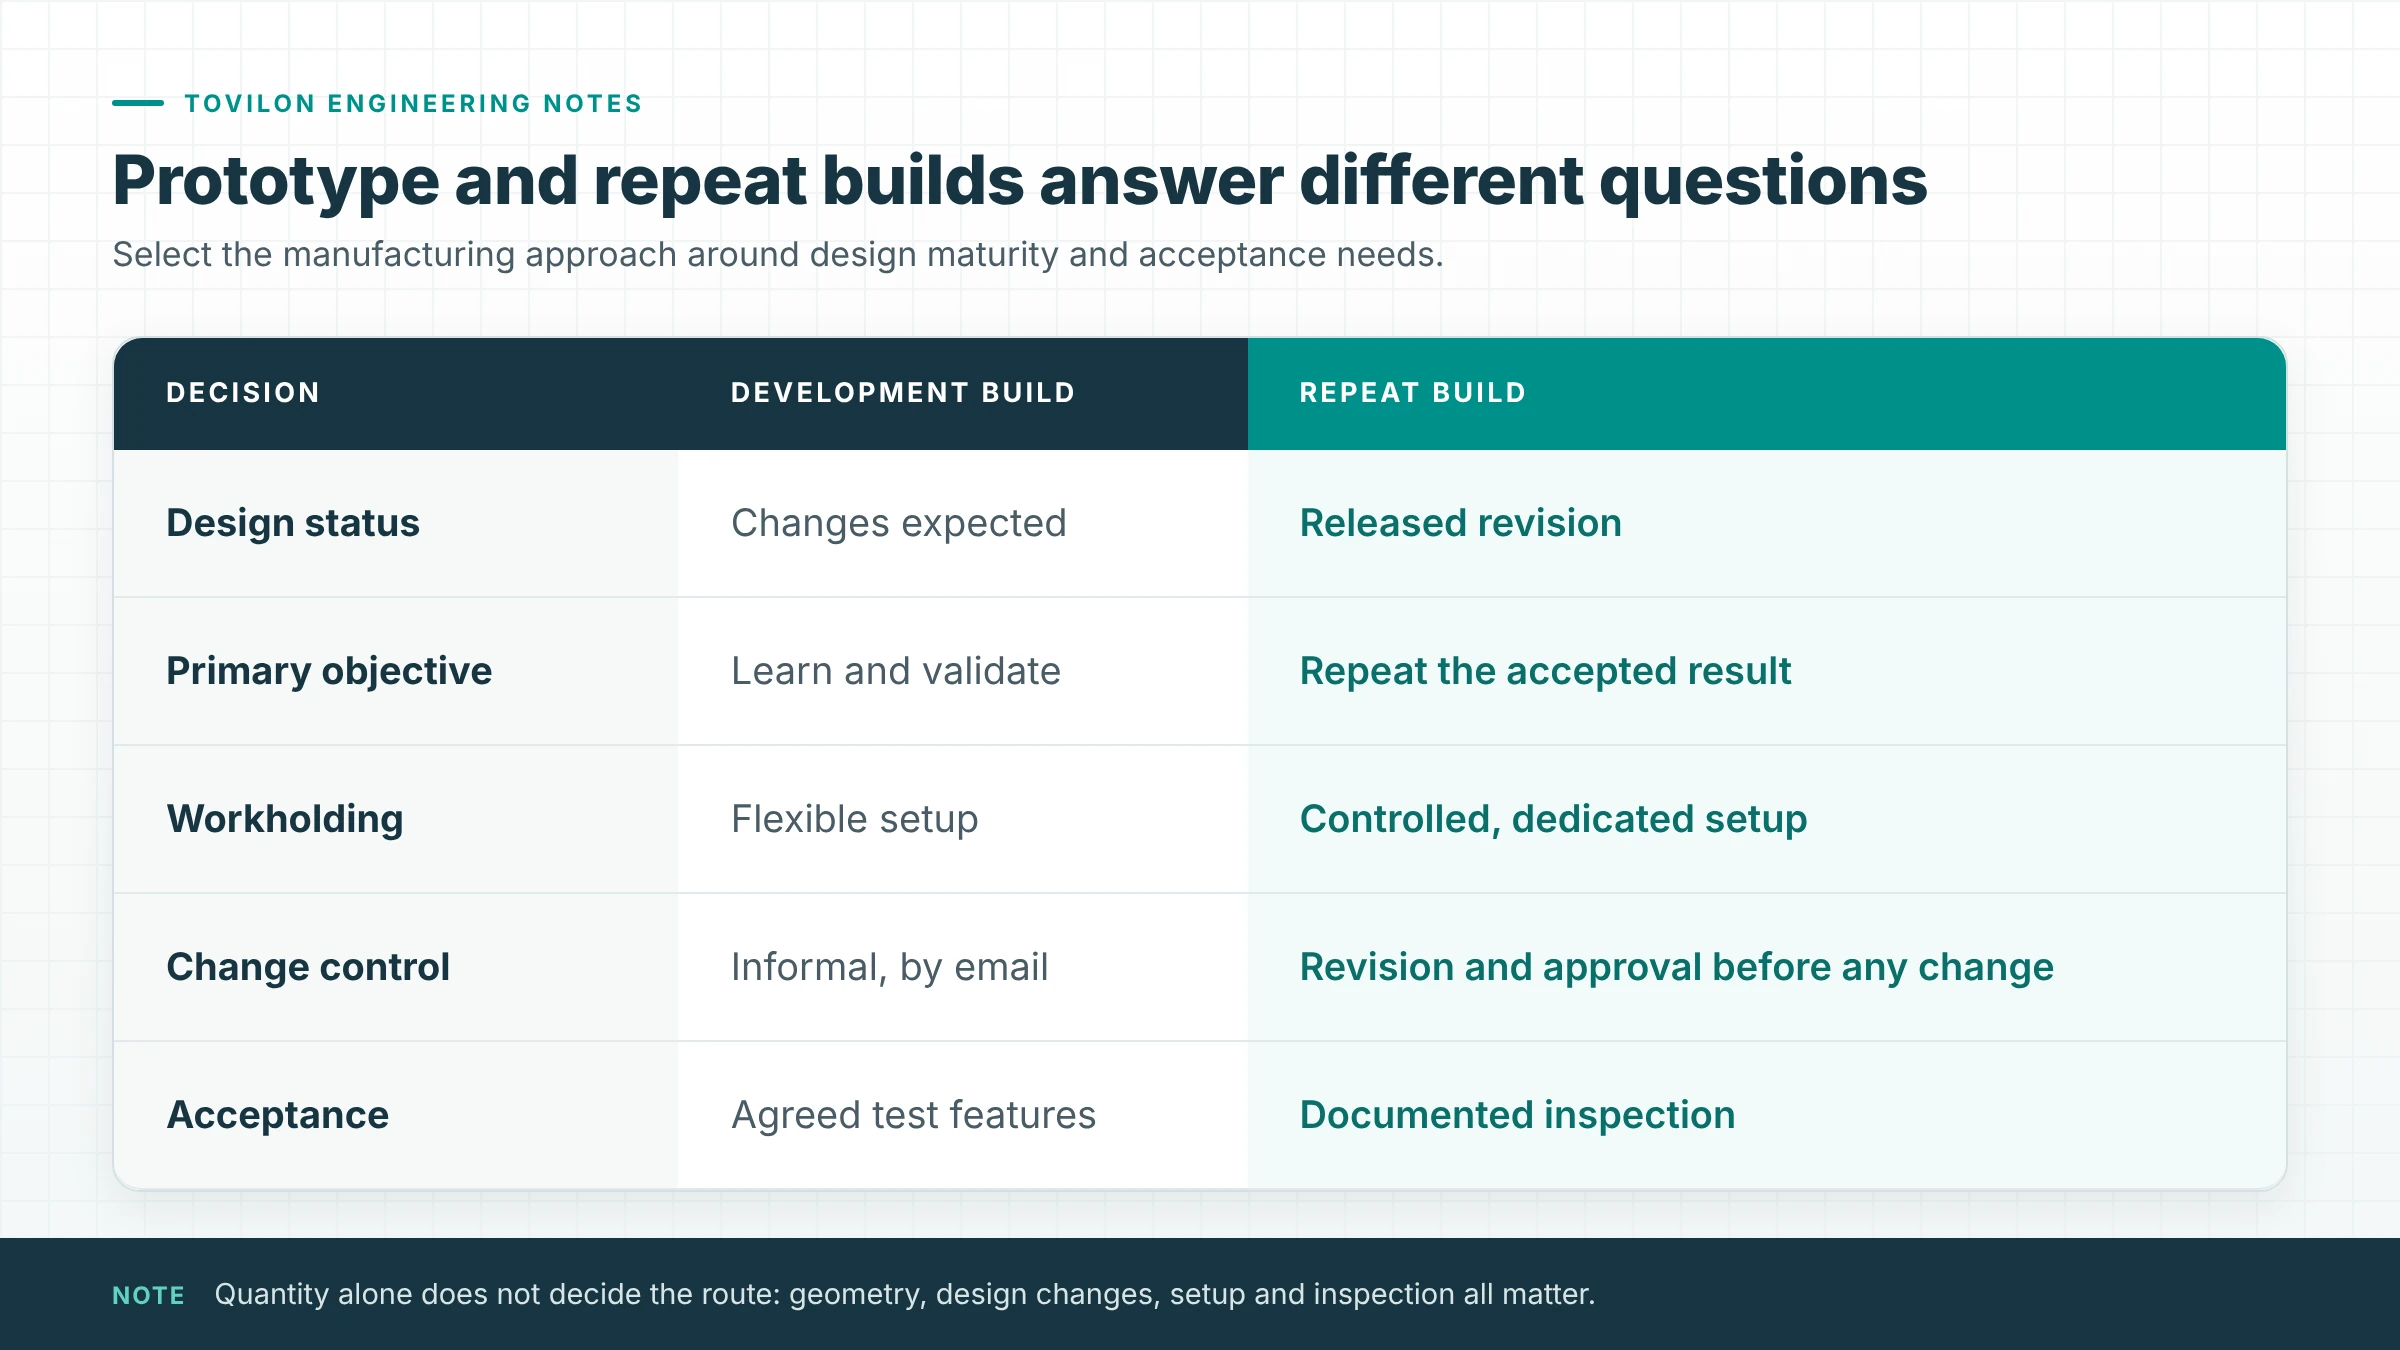
Early prototypes test fit, motion, assembly and sometimes thermal or load behavior. The design will probably change, so speed and flexibility matter more than cycle time. Typical characteristics:
- Quantities of one to a few pieces
- Standard vises and soft jaws rather than dedicated fixtures
- Inspection focused on the features being tested
- Programming and setup time make up most of the price
To get useful prototypes quickly, mark which dimensions are exploratory and which already reflect final intent. If the prototype needs to represent production material and finish, say so. A 6061 prototype of a part intended for 7075, or a raw part that will later be hard anodized, may not tell you what you need to know.
Stage 2: pilot or bridge production
Pilot lots, often ten to a few hundred pieces, sit between development and full production. They check that the drawing is complete, the process is stable and the parts work in real assemblies. Many companies also use machined parts as bridge production while injection mold tooling is being built, or while demand is still uncertain.
At this stage it is worth investing in:
- A released drawing revision with critical features identified
- Simple dedicated fixtures where they improve repeatability
- A first article inspection report that confirms every drawing requirement
- Agreed packaging and labeling
Stage 3: repeat production
Once the design is stable, the goal is consistency. Repeat production means the same revision, material, process route, fixtures, programs and inspection plan for every batch. Changes to any of these should be approved before they are used. This is what lets a part ordered next year fit the assembly designed this year.
How unit cost changes with quantity
CNC machining cost has two main parts: one-time cost and per-part cost. One-time cost covers programming, setup, fixtures and first article inspection. Per-part cost covers material, machine time, finishing and routine inspection. At a quantity of one, most of the price is usually one-time cost, unless expensive material or long machine time dominates. As quantity rises, that cost is spread across more parts and the unit price falls quickly, then levels off.
| Stage | Typical quantity | Main cost driver | Inspection focus |
|---|---|---|---|
| Prototype | 1 to 5 | Programming and setup | Features under test |
| Pilot / bridge | 10 to a few hundred | Setup, fixtures, first article | Full first article, then critical features |
| Repeat production | Recurring batches | Machine time, material, finishing | Sampling plan on critical features |
A useful exercise is to request prices at several quantities, for example 1, 10 and 100 pieces, with the same drawing, material, finish and inspection scope. The comparison shows where the price curve flattens and helps decide batch sizes. Keep the scope identical between quantities, otherwise the comparison is not meaningful.
Design changes that cut production cost
A prototype often carries features that were convenient for the designer but expensive to repeat. Before releasing a part for production, review:
- Tight tolerances that testing showed are not needed
- Small internal corner radii that force small, slow cutters
- Deep, narrow pockets that need long tools
- Features on many faces that could be consolidated
- Material choices that could move to a more machinable grade
Even small changes can reduce setups or cycle time across every future batch.
When to move from machining to molding or casting
There is no universal quantity where injection molding or die casting becomes cheaper than machining. It depends on part size, geometry, material, tolerance and how likely the design is to change. To compare two routes, add one-time cost (tooling, fixtures) to per-part cost multiplied by quantity, using real quotations. The break-even quantity is roughly the difference in one-time cost divided by the difference in per-part cost.
Include mold maintenance, sample approval, secondary machining, finishing and freight. Also consider design risk. A mold that has to be modified after the first revision can erase the savings. Machining remains the safer choice while the design is still moving. See our molds and injection molding page for how tooling projects are reviewed.
Documents that make repeat orders easy
- Approved drawing revision and model
- Approved first article report and, where useful, a retained sample
- Material and finish specifications, with any allowed substitutions
- Critical feature list and inspection method
- Packaging and labeling requirements
With these in place, a repeat order can reference the part number and revision, and the batch is built and checked to that agreed release.
Whether you need a single prototype or a recurring batch, start with the drawing and quantities you expect over the next year. Explore our custom CNC machining and prototype to production manufacturability guide, then request a quote with your drawing revision, quantities and acceptance requirements. Orders start from one piece.